Contents
- Editor’s Note
- Lesson Goals
- Step One: Installation
- Step Two: Learning about the Structure of Wget – Downloading a Specific Set of Files
- A Flexible Tool for Downloading Internet Sources
Editor’s Note
This lesson requires you to use the command line. If you have no previous experience using the command line you may find it helpful to work through the Programming Historian’s Introduction to the Bash Programming Language.
Lesson Goals
This is a lesson designed for intermediate users, although beginner users should be able to follow along.
Wget is a useful program, run through your computer’s command line, for retrieving online material.
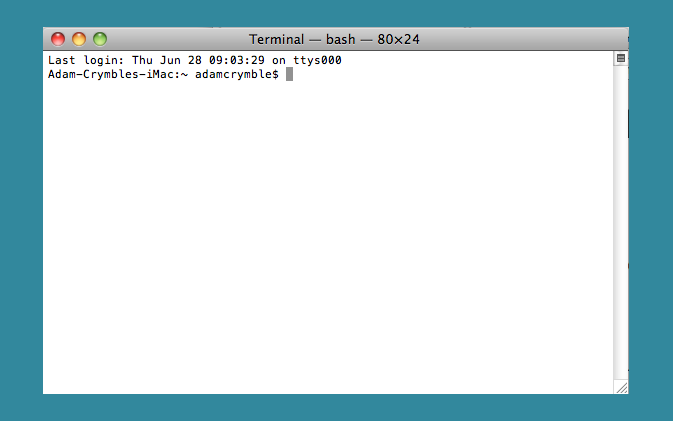
The Mac Command Line, Terminal
It can be useful in the following situations:
- Retrieving or mirroring (creating an exact copy of) an entire website. This website might contain historical documents, or it may simply be your own personal website that you want to back up. One command can download the entire site onto your computer.
- Downloading specific files in a website’s hierarchy (all websites
within a certain part of a website, such as every page that is
contained within the
/papers/directory of a website).
In this lesson, we will work through three quick examples of how you might use wget in your own work. At the end of the lesson, you will be able to quickly download large amounts of information from the Internet in an automated fashion. If you find a repository of online historical information, instead of right-clicking on every file and saving it to build your dataset, you will have the skills to craft a single command to do so.
First, a caution is in order. You need to be careful about how you use wget. If you consult the manual when in doubt, and work through the lessons here, you should be okay. You should always build a delay into your commands so that you do not overload the servers, and should also always put a limit on the speed to which you download. This is all part of being a good Internet citizen, and can be seen as analogous to sipping from a firehose rather than turning it on all at once (it’s not good for you, or the water company).
Be as specific as possible when formulating your download. One joke suggests that you can accidentally download the entire Internet with wget. While that’s a bit of an exaggeration, it isn’t too far off!
Let’s begin.
Step One: Installation
Linux Instructions
If you are using a Linux system, you should already have wget installed.
To check if you have it, open up your command line. Type 'wget' and
press enter. If you have wget installed the system will respond with:
-> Missing URL.
If you do not have wget installed, it will respond with
-> command not found.
If you are on OS X or Windows, you will need to download the program. If on Linux, you receive the error message indicating that you do not have wget installed, follow the OS X instructions below.
OS X Instructions
OS X Option One: The Preferred Method
On OS X, there are two ways to get wget and install it. The easiest is to install a package manager and use it to automatically install wget. There is a second method, discussed below, that involves compiling it.
Both, however, require that you install Apple’s ‘Command Line Tools’ to use properly. This requires downloading XCode. If you have the ‘App Store’, you should be able to just download XCode via this link. If not, the following instructions will work.
To download this, go to the Apple Developer website, register as a developer, and then in the downloads for Apple developers section you will need to find the correct version. If you are on the most recent version, Lion as of July 2012, you can use the main link. If not, you will need to click on the link: “Looking for additional developer tools? View Downloads.”
After logging in with your free developer credentials, you will see a long list. Type xcode in the search bar and find a version that is compatible with your operating system version. This may take some clicking around to find the right version for you. For example, Xcode 3.2 is the version for OS X 10.6 Snow Leopard, 3.0 is the version for OS X 10.5 Leopard, etc.
It is a big download, and will take some time. Once you have the file, install it.
You will need to install the ‘Command Line Tools’ kit in XCode. Open up the ‘Preferences’ tab, click on ‘Downloads,’ and then click ‘Install’ next to Command Line Tools. We are now ready to install a package manager.
The easiest package manager to install is Homebrew. Go to https://brew.sh and review the instructions. There are many important commands, like wget, that are not included by default in OS X. This program facilitates the downloading and installation of all required files.
To install Homebrew, open up your terminal window and type the following:
/usr/bin/ruby -e "$(curl -fsSL https://raw.githubusercontent.com/Homebrew/install/master/install)"
This uses the ruby programming language, built into OS X, to install Homebrew. To see if the installation worked, type the following into your terminal window:
brew
A list of documentation options should appear if it has been installed. We have one more command to run to make sure everything is working, which is:
brew doctor
With Homebrew installed, we now have to install wget. This is now an easy step.
brew install wget
It will proceed to download the most recent version of wget, which is wget 1.14. After the script stops running, and you are back to your main window, enter the following command into the terminal:
wget
If you have installed it, you will see:
-> Missing URL.
If not, you will see:
-> command not found.
At this point, you should have installed wget successfully. We are now ready to keep going!
OS X Option Two
If for some reason you do not want to install a package manager, you are able to simply download wget alone. This will be applicable if you are using a different packet manager (such as Mac Ports) or if you want to keep your infrastructure to a minimum. Follow the same instructions again to install xcode and the Command Line Tools set.
Then you can subsequently download an uncompiled version of wget from
the GNU website (I chose to download the file ‘wget-1.13.tar.gz’,
which you can find by following the link to either the HTTP or
FTP download pages), unzip it (by double-clicking on it) into your
home directory (on a Mac, this will be your /user/ directory – for
example, my user name is ianmilligan and it appears next to a house icon
in my Finder), and then open up Terminal. For this tutorial, we have
downloaded wget-1.13.
First, we will need to navigate to the directory that the wget files are in. At the terminal, type:
cd wget-1.13
Note that if you have downloaded a different version of wget, the
following steps will work but you may have to replace the above version
number (i.e. 1.13) with your own.
We now need to generate the instructions, or makefile, for the file. This is sort of a blueprint for what the final file is going to look like. Accordingly, type:
./configure –with-ssl=openssl
Now that we have the blueprints, let\’s tell our computer to follow them. Type:
make
Then, you need to make the final file. By pre-pending the command sudo, you are running the command with highest security privileges. This lets you actually install the file into your system.
sudo make install
At this point, you will be prompted for your computer’s password. Type it.
You should now have wget installed.
Windows Instructions
The easiest way is to download a working version. To do so, visit
this website and download wget.exe using the installation files appropriate to your computer. You can find out if you need the 32-bit or 64-bit binary by checking your device specifications, or performing an online search.
If you place wget.exe in
your C:\Windows directory, you can then use wget from anywhere on your
computer. This will make your life easier as you will not have to worry
about always running wget from only one place on your system. If it is
in this directory, Windows will know that the command can be used
anywhere in your terminal window.
Step Two: Learning about the Structure of Wget – Downloading a Specific Set of Files
At this point, users of all three platforms should be on the same page.
We use wget through our operating system’s command line interface
(introduced previously as Terminal for Mac and Linux users, where you
have been playing around with some Python commands). You need to use
your command line, instead of the Komodo Edit client you may have used
in other lessons.
The comprehensive documentation for wget can be found on the GNU wget manual page.
Let’s take an example dataset. Say you wanted to download all of the
papers hosted on the website ActiveHistory.ca. They are all located at:
http://activehistory.ca/papers/; in the sense that they are all
contained within the /papers/ directory: for example, the 9th paper
published on the website
is http://activehistory.ca/papers/historypaper-9/. Think of this
structure in the same way as directories on your own computer: if you
have a folder labeled /History/, it likely contains several files
within it. The same structure holds true for websites, and we are using
this logic to tell our computer what files we want to download.
If you wanted to download them all manually, you would either need to write a custom program, or right-click every single paper to do so. If the files are organized in a way that fits your research needs, wget is the quickest approach.
To make sure wget is working, try the following.
In your working directory, make a new directory. Let’s call it
wget-activehistory. You can make this using your Finder/Windows, or if
you are at a Terminal window at that path, you can type:
mkdir wget-activehistory
Either way, you now have a directory that we will be working in. Now
open up your command line interface and navigate to
the wget-activehistory directory. As a reminder, you can type:
cd [directory]
to navigate to a given directory. If you’ve made this directory in your
home directory, you should be able to type cd wget-activehistory to
move to your new directory.
Enter the following command:
wget http://activehistory.ca/papers/
After some initial messages, you should see the following (figures, dates and some details will be different, however):
Saving to: `index.html.1'

[] 37,668 --.-K/s in 0.1s

2012-05-15 15:50:26 (374 KB/s) - `index.html.1' saved [37668]
What you have done is downloaded just the first page of http://activehistory.ca/papers/, the index page for the papers to your new directory. If you open it, you’ll see the main text on the home page of ActiveHistory.ca. So at a glance, we have already quickly downloaded something.
What we want to do now, however, is to download every paper. So we need to add a few commands to wget.
Wget operates on the following general basis:
wget [options] [URL]
We have just learned about the [URL] component in the previous example, as it tells the program where to go. Options, however, give the program a bit more information about what exactly we want to do. The program knows that an option is an option by the presence of a dash before the variable. This lets it know the difference between the URL and the options. So let’s learn a few commands now:
-r
Recursive retrieval is the most important part of wget. What this means is that the program begins following links from the website and downloading them too. So for example, the http://activehistory.ca/papers/ has a link to http://activehistory.ca/papers/historypaper-9/, so it will download that too if we use recursive retrieval. However, it will also follow any other links: if there was a link to http://uwo.ca somewhere on that page, it would follow that and download it as well. By default, -r sends wget to a depth of five sites after the first one. This is following links, to a limit of five clicks after the first website. At this point, it will be quite indiscriminate. So we need more commands:
--no-parent
(The double-dash indicates the full-text of a command. All commands also have a short version, this could be initiated using -np).
This is an important one. What this means is that wget should follow
links, but not beyond the last parent directory. In our case, that means
that it won’t go anywhere that is not part of the
http://activehistory.ca/papers/ hierarchy. If it was a long path such as
http://niche-canada.org/projects/events/new-events/not-yet-happened-events/,
it would only find files in the /not-yet-happened-events/ folder. It
is a critical command for delineating your search.
Here is a graphical representation:
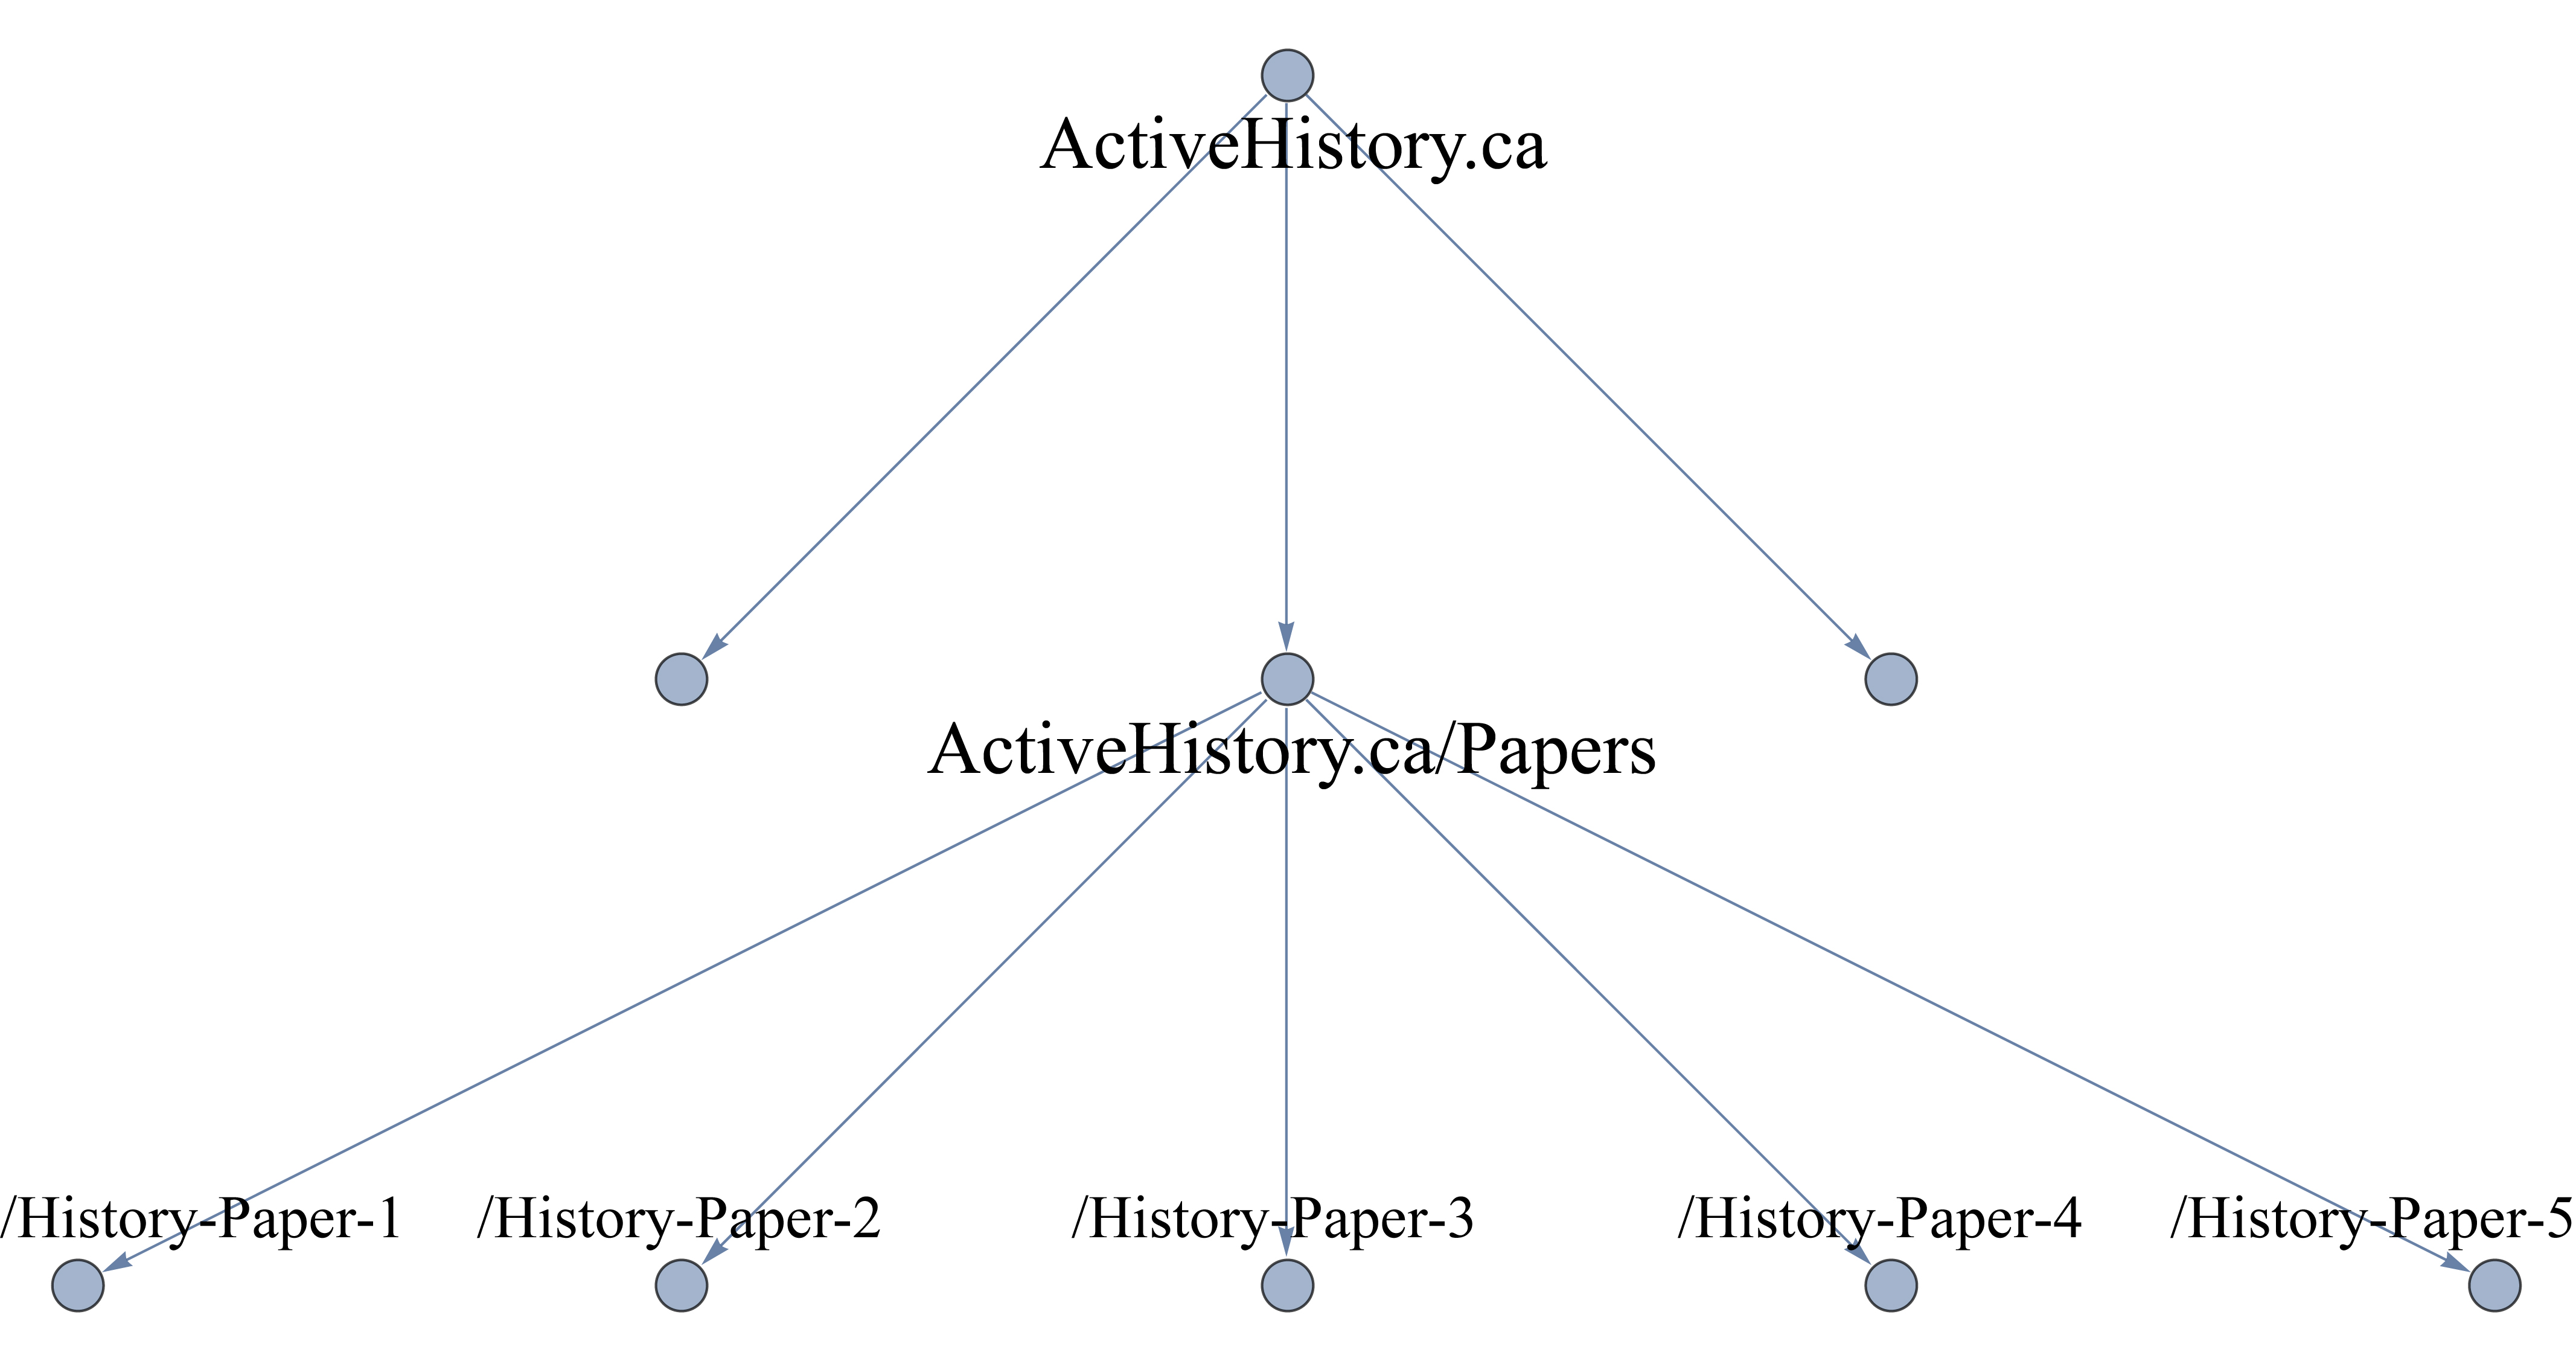
A graphical representation of how ‘no-parent’ works with wget
Finally, if you do want to go outside of a hierarchy, it is best to be
specific about how far you want to go. The default is to follow each
link and carry on to a limit of five pages away from the first page you
provide. However, perhaps you just want to follow one link and stop
there? In that case, you could input -l 2, which takes us to a depth
of two web-pages. Note this is a lower-case ‘L’, not a number 1.
-l 2
If these commands help direct wget, we also need to add a few more to be nice to servers and to stop any automated countermeasures from thinking the server is under attack! To that end, we have two additional essential commands:
-w 10
It is not polite to ask for too much at once from a web server. There
are other people waiting for information, too, and it is thus important
to share the load. The command -w 10, then, adds a ten second wait in
between server requests. You can shorten this, as ten seconds is quite
long. In my own searches, I often use a 2 second wait. On rare
occasions, you may come across a site that blocks automated downloading
altogether. The website’s terms of service, which you should consult,
may not mention a policy on automated downloading, but steps to prohibit
it may be built into their website’s architecture nonetheless. In such
rare cases, you can use the command ––random-wait which will vary the
wait by 0.5 and 1.5 times the value you provide here.
Another critical comment is to limit the bandwidth you will be using in the download:
--limit-rate=20k
This is another important, polite command. You don’t want to use up too
much of the servers’ bandwidth. So this command will limit the maximum
download speed to 20kb/s. Opinion varies on what a good limit rate is,
but you are probably good up to about 200kb/s for small files – however,
not to tax the server, let us keep it at 20k. This will also keep us at
ActiveHistory.ca happy!
Step Three: Mirror an Entire Website
Ok, with all of this, let’s finally download all of the ActiveHistory.ca papers. Note that the trailing slash on the URL is critical – if you omit it, wget will think that papers is a file rather than a directory. Directories end in slashes. Files do not. The command will then download the entire ActiveHistory.ca page. The order of the options does not matter.
wget -r --no-parent -w 2 --limit-rate=20k http://activehistory.ca/papers/
It will be slower than before, but your terminal will begin downloading
all of the ActiveHistory.ca papers. When it is done, you should have a
directory labeled ActiveHistory.ca that contains the /papers/
sub-directory – perfectly mirrored on your system. This directory will
appear in the location that you ran the command from in your command
line, so likely is in your USER directory. Links will be replaced with
internal links to the other pages you’ve downloaded, so you can actually
have a fully working ActiveHistory.ca site on your computer. This lets
you start to play with it without worrying about your internet speed.
To see if the download was a success, you will also have a log in your command screen. Take a look over it to make sure that all files were downloaded successfully. If it did not download, it will let you know that it failed.
If you want to mirror an entire website, there is a built-in command to wget.
-m
This command means ‘mirror,’ and is especially useful for backing up an entire website. It introduces the following set of commands: time-stamping, which looks at the date of the site and doesn’t replace it if you already have that version on your system (useful for repeated downloads), as well as infinite recursion (it will go as many layers into the site as necessary). The command for mirroring ActiveHistory.ca would be:
wget -m -w 2 --limit-rate=20k http://activehistory.ca
A Flexible Tool for Downloading Internet Sources
As you become increasingly comfortable with the command line, you’ll find wget a helpful addition to your digital toolkit. If there is an entire set of archival documents that you want to download for text mining, if they’re arranged in a directory and are all together (which is not as common as one might think), a quick wget command will be quicker than scraping the links with Python. Similarly, you can then begin downloading things directly from your command line: programs, files, backups, etc.
Further Reading
I’ve only given a snapshot of some of wget’s functionalities. For more, please visit the wget manual.