Contents
- Before you begin: Map your exhibit
- Add an exhibit
- Add a page
- Add a content block to your page
- Add content to your content block
- You have an Omeka site!
Now that you’ve added items to your Omeka site and grouped them into collections, you’re ready for the next step: taking your users on a guided tour through the items you’ve collected.
Before you begin: Map your exhibit
It pays to do some thinking before you launch into creating an exhibit. You’ll be creating sections and pages, and you’ll need to give some thought to the argument you want to make and how you intend to make it. In the lesson that follows, I use the silly example of my dogs. But what if I were discussing, say, silent film? My sections might be thematic (comedies, romances, dramas), chronological (early silent film, the transitional period, classical era), or stylistic (modernist, impressionist, narrative). It all depends on the message I want to convey to the site’s visitors. You might draw out a map of your exhibit, showing where you want to put each digital asset.
Add an exhibit
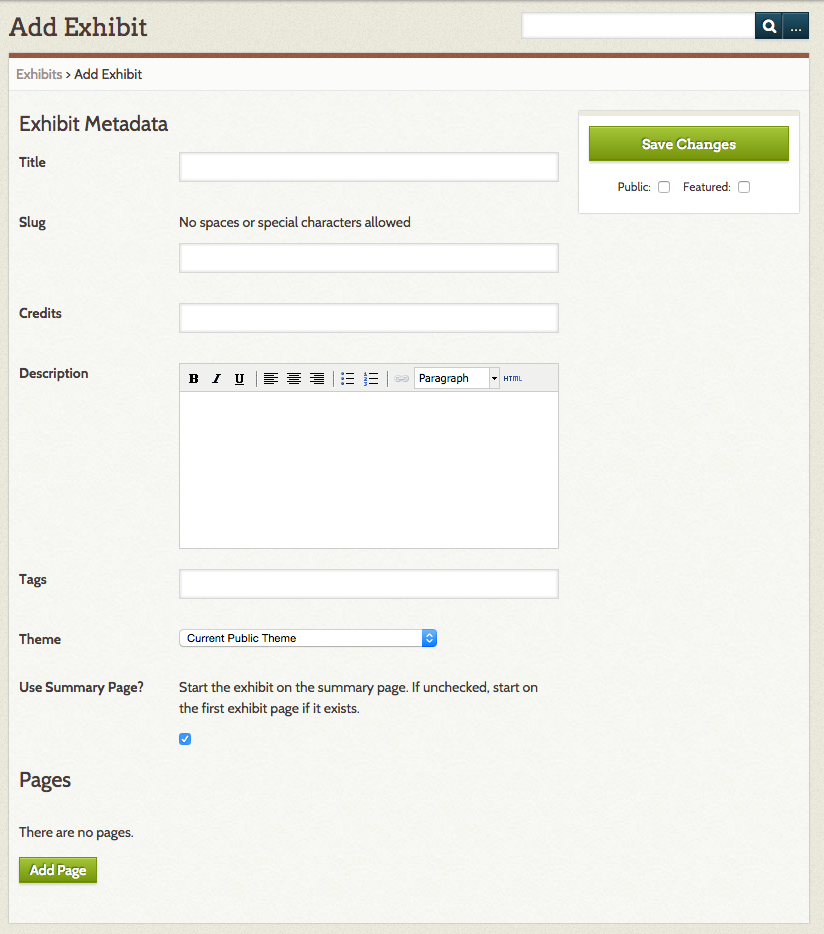
Create an exhibit page
A collection is just a list of objects. An exhibit is a guided tour through your items, complete with descriptive text and customized layouts. To create one, click on the Exhibits tab and then Add an exhibit. Fill out the form on the top half of the page. A slug is a machine-readable name for your exhibit and will become part of your URL.
Add a page
Pages are where you’ll stick the actual items in your exhibit. An exhibit can have multiple pages, and you can drag and drop them to rearrange the order, even making some pages sub-sections of others.
Click on the green Add Page button. On the following page, you’ll enter some information and pick a layout for your exhibit page.
Add a content block to your page
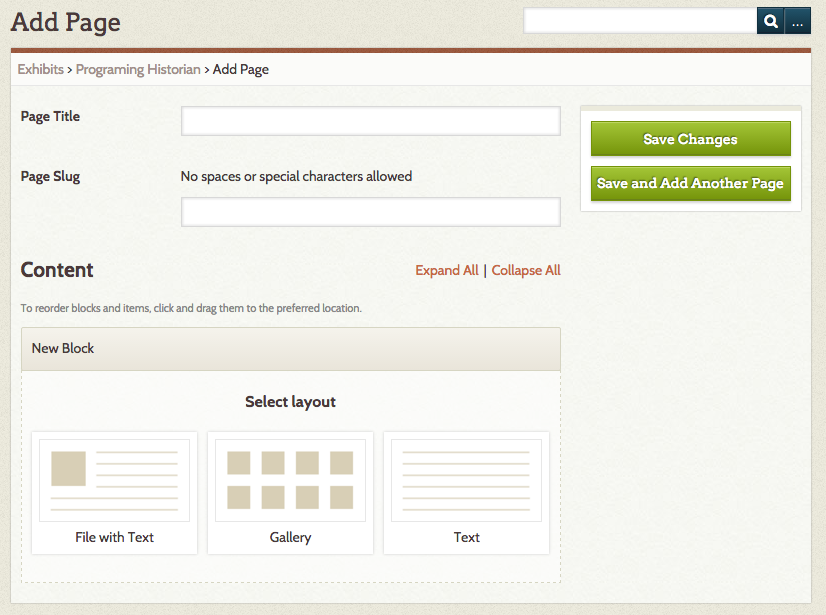
Add a page fields
On the page that follows, you’ll seen an option for Page Title and Slug. Fill those in.
You’ll see the option for New Block. Pages are made up of blocks, which can be files and test, just files, or just text.
Click the File with Text option and then the green Add new content block
Add content to your content block
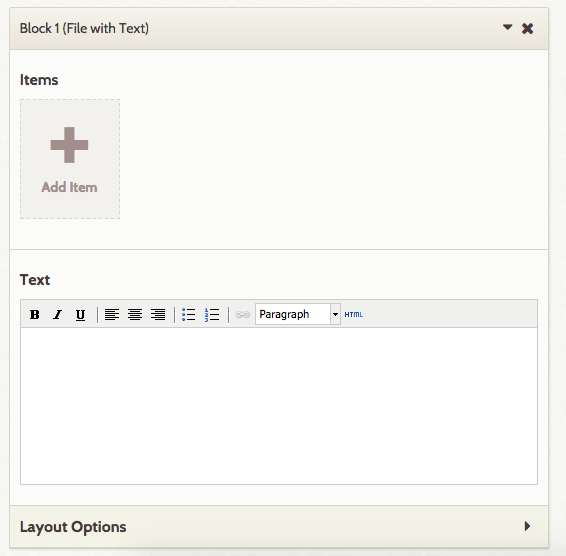
Add a item and file to your content block
In Block 1 (File with Text) click the Add Item button.
In the window which opens, click on your item and then click Select Item. You can add a caption if you want. Click the green Apply button.
I also added some filler text to the Text field.
When you’re done, click the View Public Page button to see how your Omeka site looks.
You have an Omeka site!
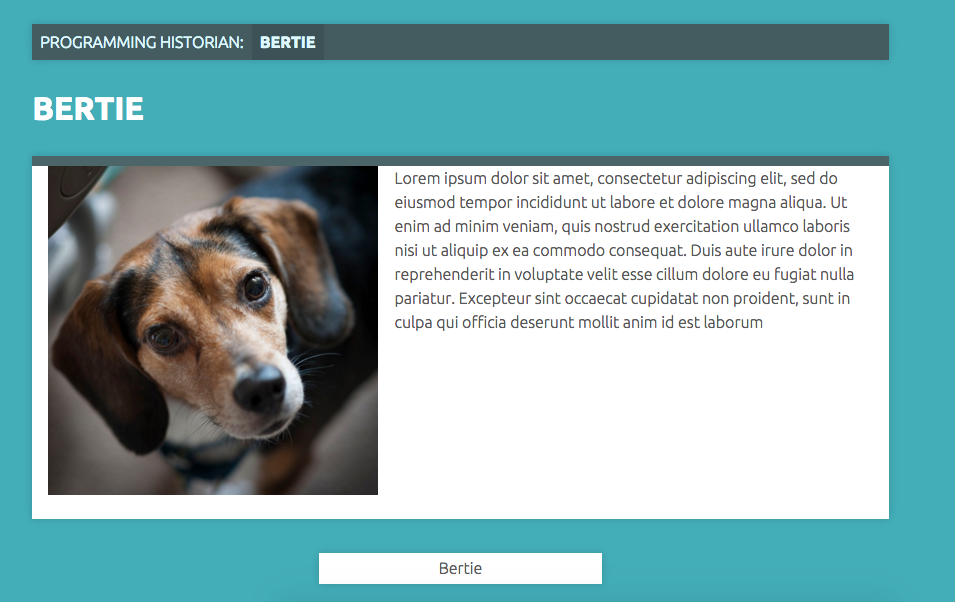
Bertie the dog is an exhibit item
Now your site has items, collections, and an exhibit — all the basic units of an Omeka site!